

My First Project
When I moved into my home, there were so many great features I saw in other homes that I wanted to incorporate into my own. And then I realized... this is expensive to pay someone to do. So I ventured down the rabbit hole that is Pinterest to figure out how to do this stuff myself. And that is when a monster was created. LOL

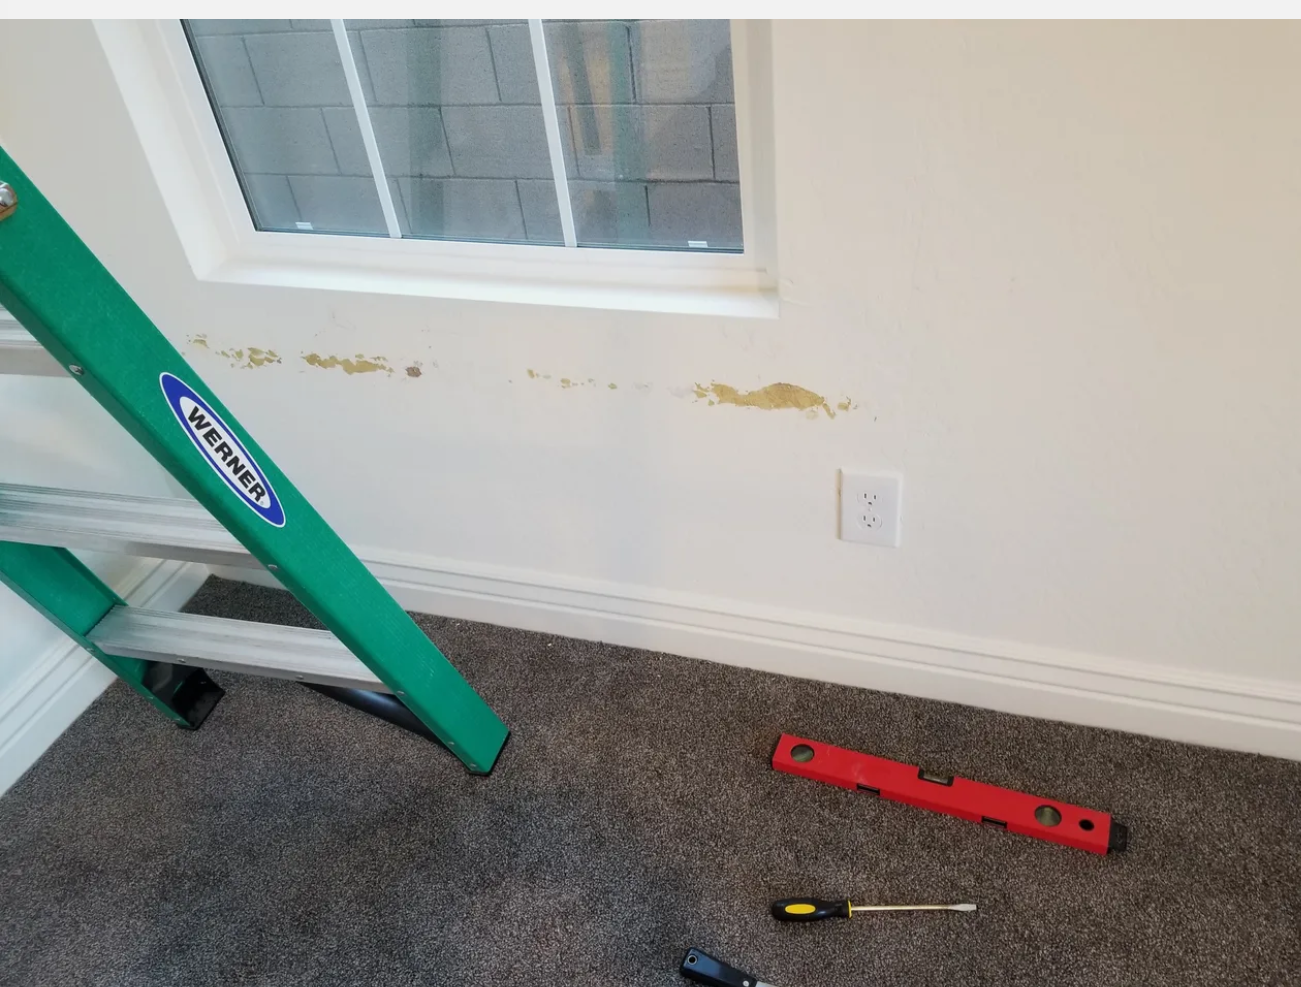
I decided this wall in my master would work for the feature wall. At first I wanted to do board and batten, but because of the windows, decided that would be too much work. Yep, I was being lazy. Don't judge me. 😊

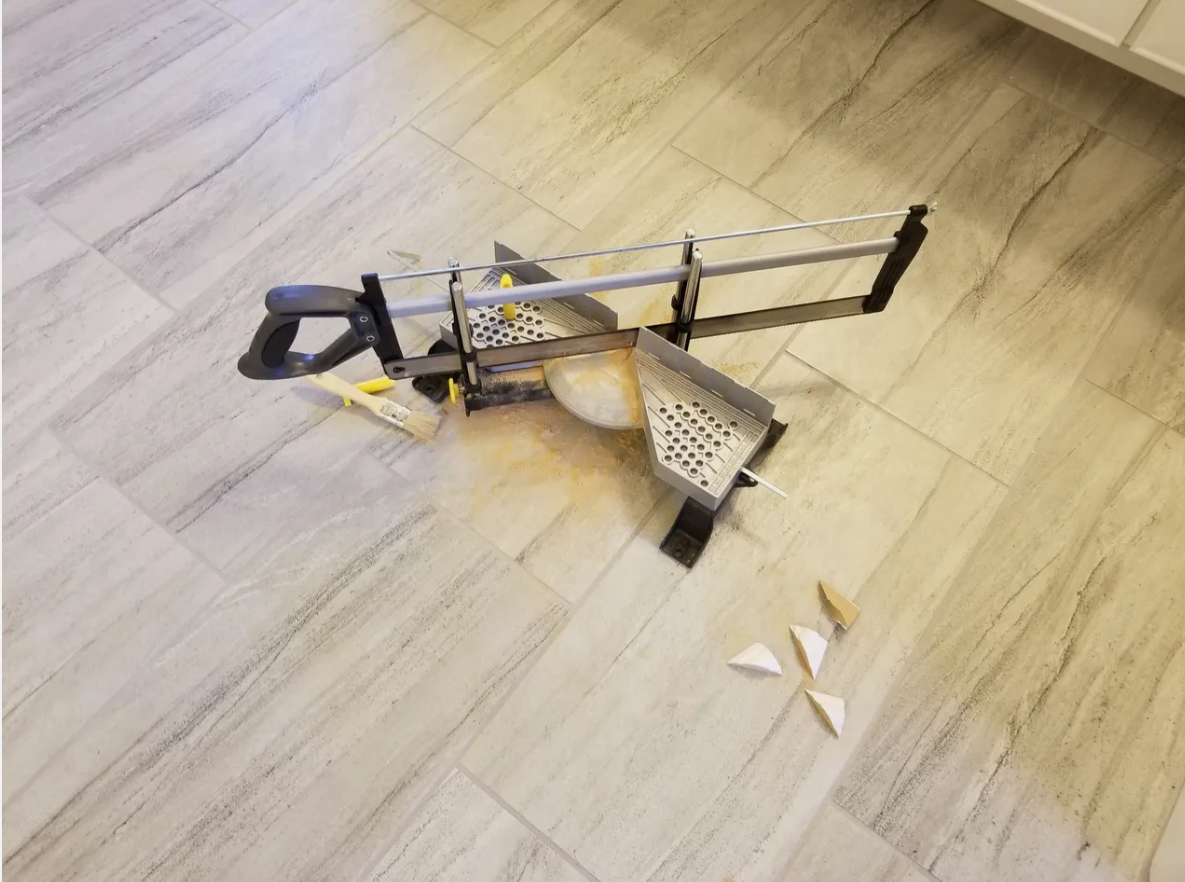
I found this great design on pinterest and decided this would be my master bedroom feature wall. It looked simple enough. I searched several designs and determined this could easily be done with picture frame molding and a miter saw box. But first, I had to measure. Measure twice, cut once right? Well, I was nervous, so I probably measured about 100 times, but glad I did.
Based on other pinterest projects I read, I decided I wanted to make sure the molding didn't fall off the wall, so in addition to liquid nails, I decided I would use finish nails. I already had a nail gun (bought during black Friday) but had never used it. After some research, realized the nail gun I bought needed air in order to work (duh 🤦🏾♀️), so add an air compressor to the list.

So now I have my supply list. I found the molding at Home Depot. I don't remember exactly how much it was, but it was pretty cheap. And the miter saw box set was probably under $20. Sweet! That along with liquid nails, duct tape, nails, and the air compressor, off I went to the house to start cutting and hanging.
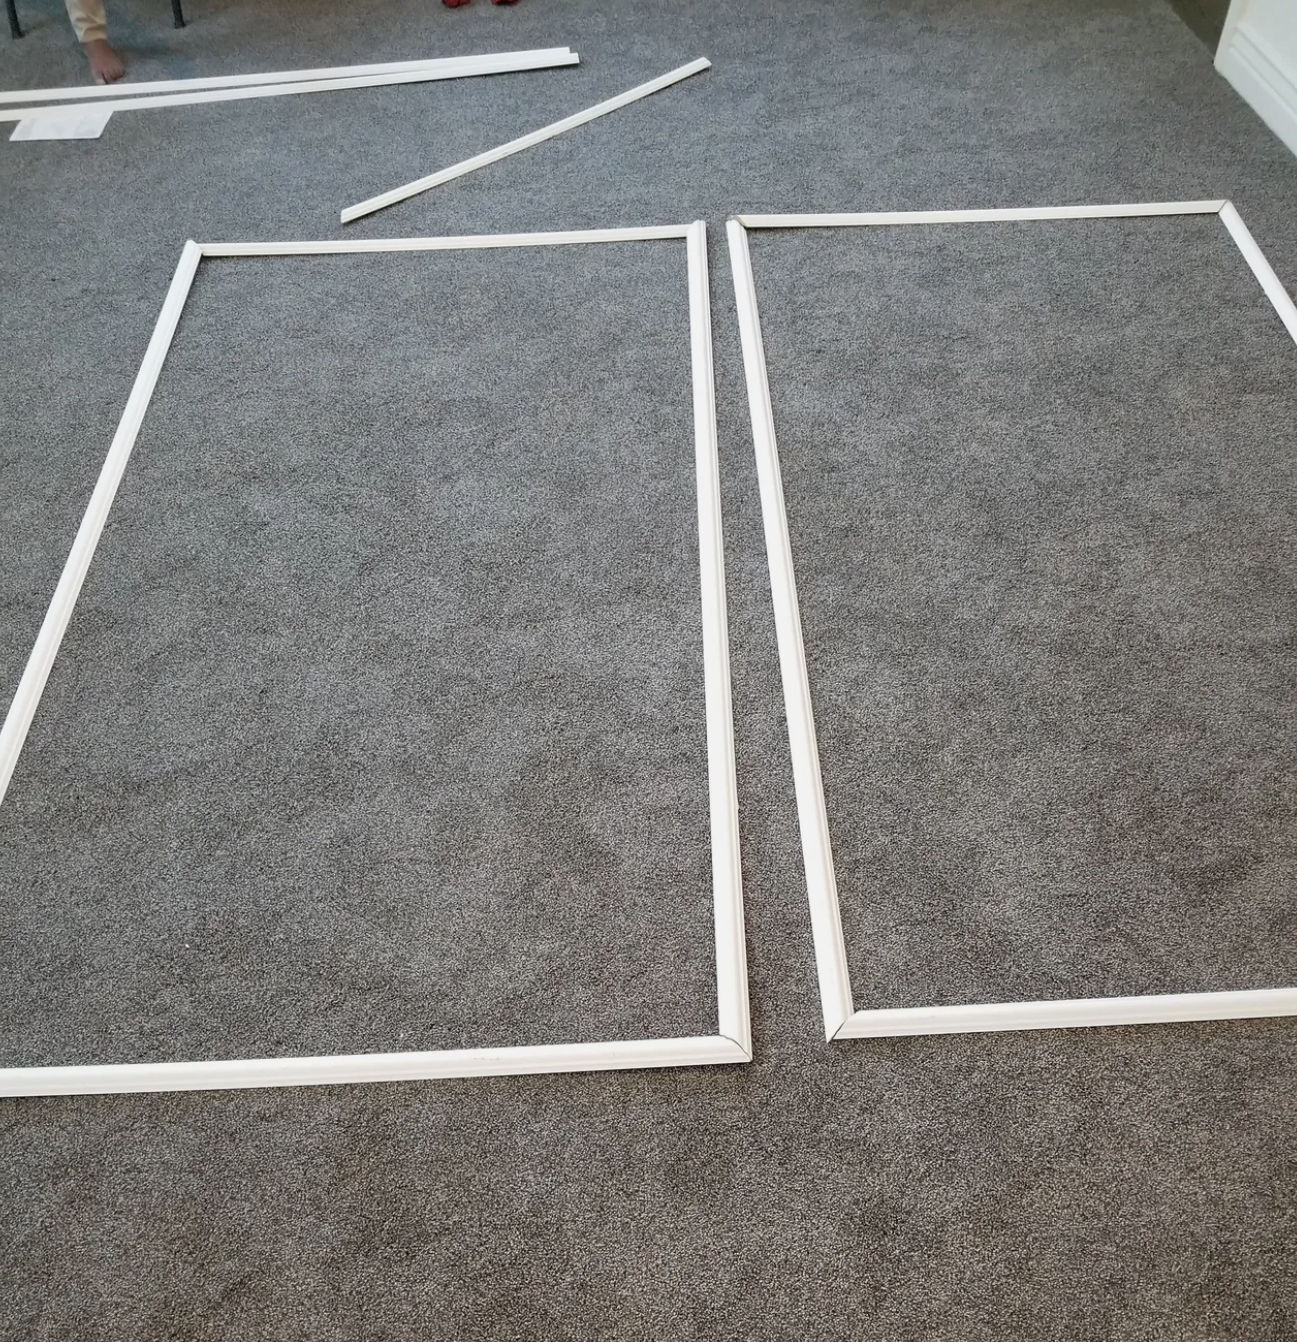
I started the cuts first and dry fit the pieces to make sure I cut it right. With the help of my mom, we hung the moldings on the wall using the liquid nails and kept them in place with tape until the nails dried. As you can see below, I messed up the first time, luckily the nails hadn't dried yet. Phew!
After we hung everything, I added nails in a few sections on each piece. Filled the holes and any miter joints with caulking to clean it all up.


All finished. Not too shabby for a first timer. 😉 And once the painters came in, my project was officially complete.
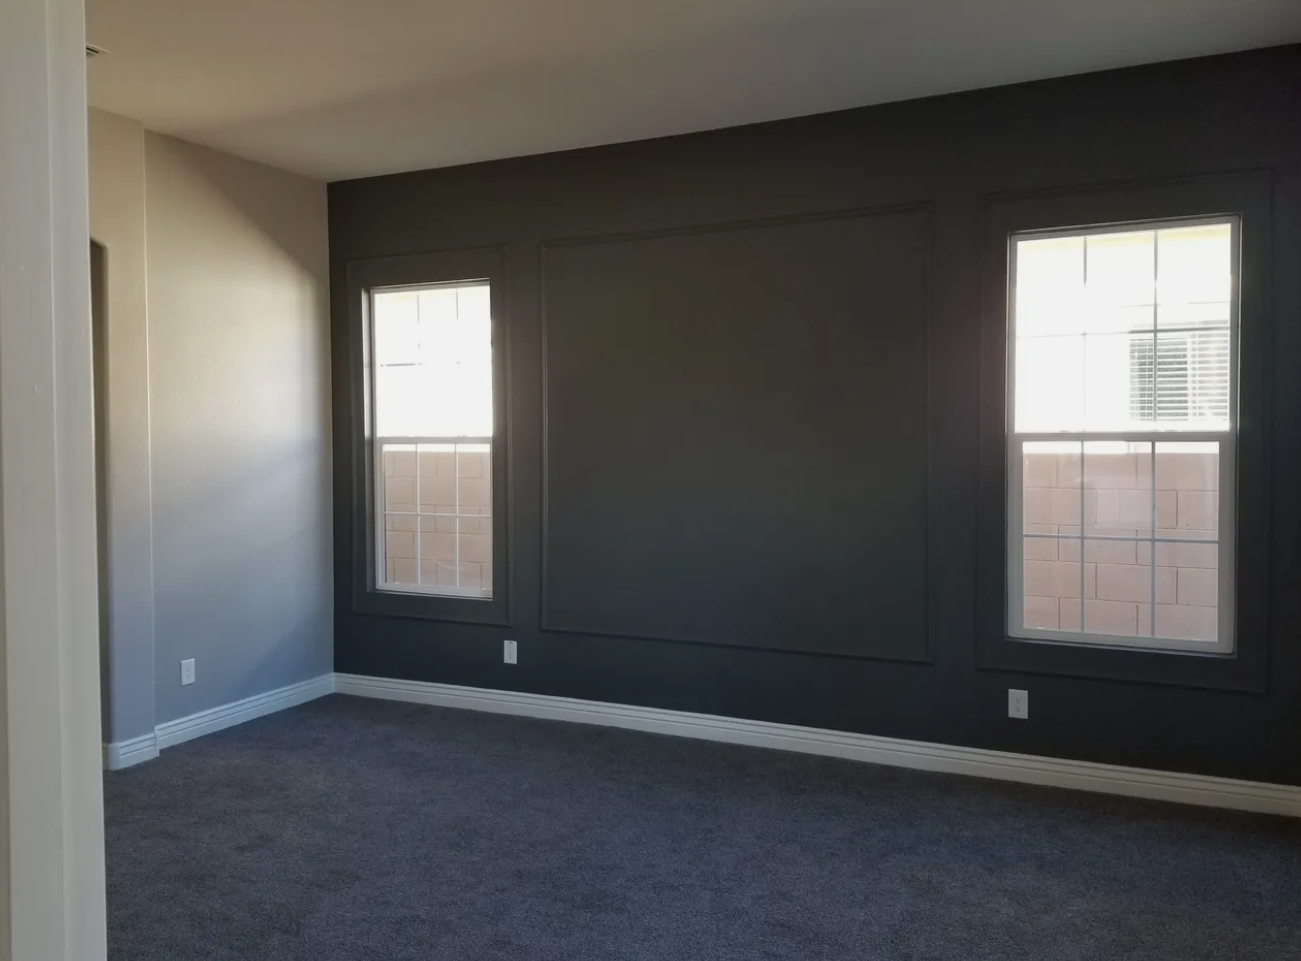
Very satisfied with the outcome. The most important thing I learned from this project is take your time. There's nothing better than having a project come out smoothly when you take your time and measure and pay attention to details.
Have you tried something similar? How'd it go for you?
Thanks for reading!