

SANDING 101
Although I know the importance of it, boy do I despise sanding... especially for large projects or when building multiple small projects. It is so time consuming and actually, quite tiring.
Purpose/Importance of Sanding
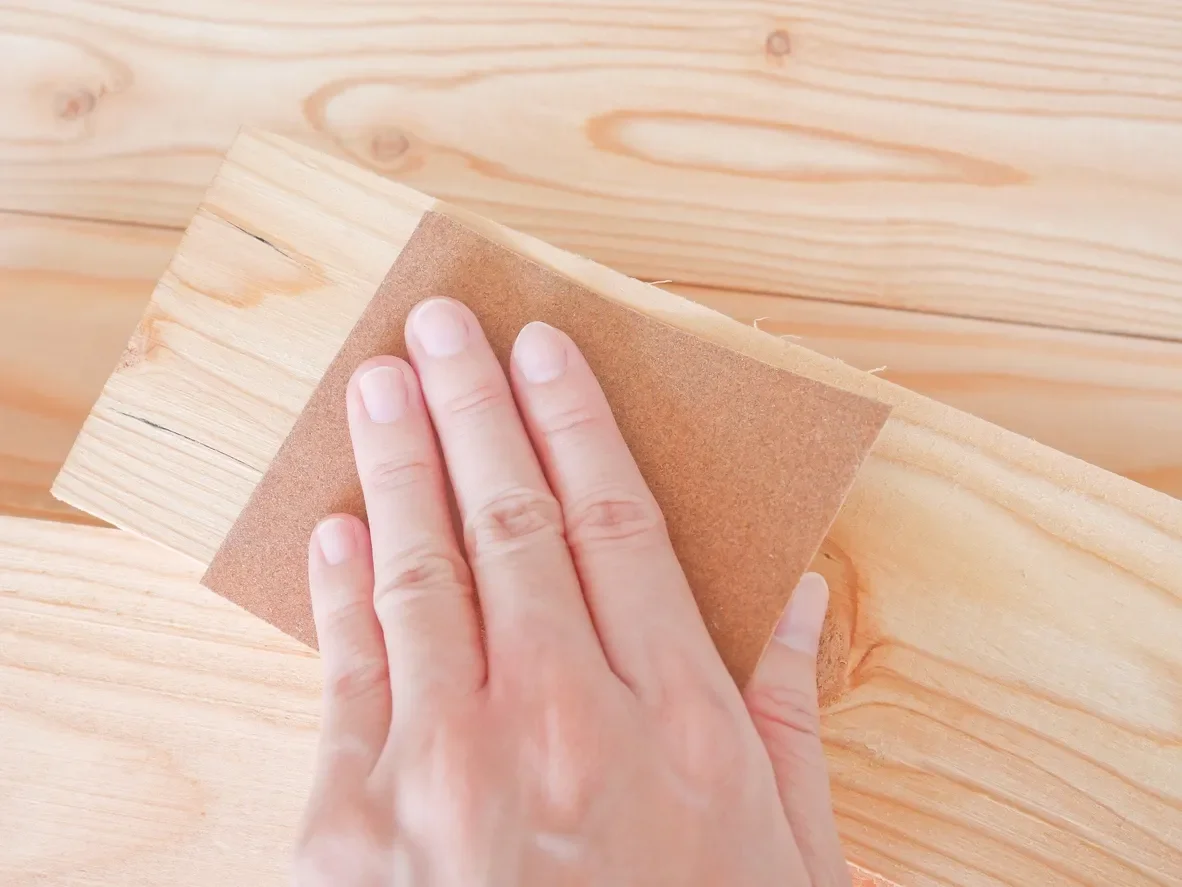
I'm sure you're familiar with sanding in the sense that you use a piece of sandpaper and rub it against the product. But do you really know why the wood needs to be sanded and what is happening during the sanding process?
Essentially wood needs to be sanded to make it smooth. But more importantly, it helps with the finishing process. It is much easier for a finish to adhere to a sanded, smooth surface. That's the same whether you are finishing with stain or paint. Proper sanding can make all the difference in how well your finished project looks and how long the finish lasts.
So what does sanding do to the wood? Without getting too technical, basically when you sand wood you are scratching the wood surface. And the higher the grit of the sandpaper, the smaller those scratches become. So, depending on the project and how you plan to finish that project, can dictate how high grit of sandpaper to go in the sanding process (more on that below). If not properly sanded, those scratches will show when you get to the finishing step of the project.
No matter where you get wood from, it will have to be sanded so that when you apply stain/paint, it adheres properly.
So what's the process?
Everyone has their own technique for sanding surfaces. After some trial and error, I've used an 80-120-220 method. You'll have to determine what works best for you. And it can be different depending on the project. Figuring this out comes with time and experience.
Like I said, I use the 80-120-220-320 method. What that means is that I start every project sanding at 80 grit. If you are not familiar with the sanding grit numbers, the lower the number, the coarser the sand paper. The lower numbers (40-60) are very rarely used and are used when you have rough lumber, bumps, or need to remove a prior finish
Starting with 80 grit helps removing shallow scratches in the wood and saw blade burns. This is also the recommended starting grit for hardwoods. This helps to sort of "set the stage" for the rest of the sanding process. With this grit, your sanding direction does not matter as much since you will be removing any blemishes as you continue on to higher grits.
I move to 120 grit which is used for prepping the wood for polyurethane or enamel paint. Make sure to sand in the direction of the wood's grain. This will help to ensure the scratches do not appear when you add your finish.
Some people will then go to 180 grit which raises the wood grain fibers and can help to prep the wood for latex paints. However, I move to 220 grit which is more of a surface finishing and preps the wood for staining. This should be done by hand, but sometimes I get lazy and still use my orbital sander.
There are times when I may stop at 120 grit and that is usually due to what I will be using for the topcoat. For example, Rubio Monocoat is a great oil finish that includes a protective coating. The company recommends sanding up to 120 grit. So always make sure to read the recommendations of the topcoat you plan to use just in case it has specific suggestions for a flawless, lasting finish.
Lastly, applying topcoats (like polyurethane), will also require sanding between coats. For this, you will use a fine finish grit. For this process, I usually use 320 grit. This can sometimes be higher; just depends on the product. So make sure to read the directions.
One of the best suggestions I've received is to make sure that you remove the dust before moving on to the next grit. This ensures that as you move up in grit, the scratches that you leave are not filled in with dust and then not properly removed as you move up in grit.
To ensure you do not over sand your wood, make sure to add pencil marks across the entire board (diagonally, squiggly, whatever makes you feel good). That way you know that part of the piece has been sanded and you do not continue to sand that area. Without these marks, you could end up sanding your project unevenly.
Sanding Tools
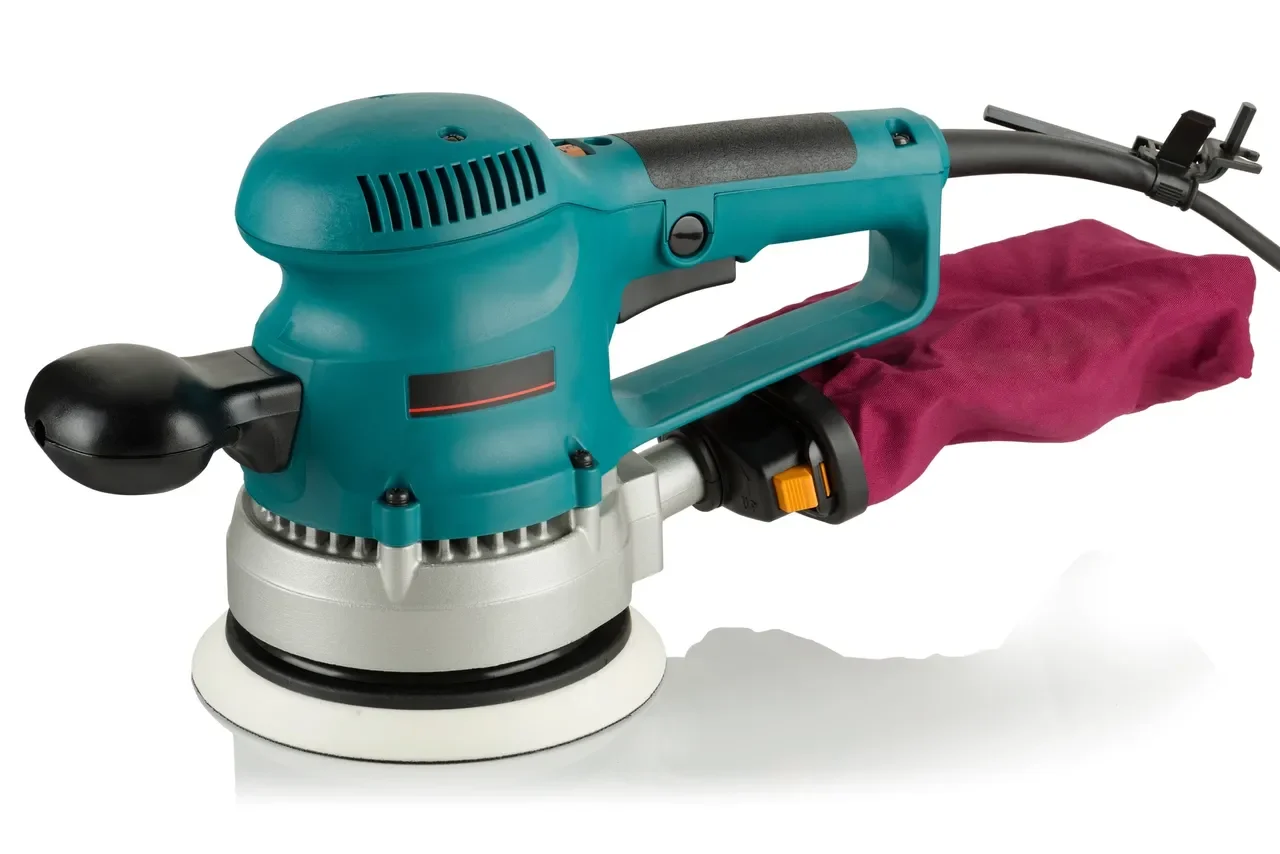
There are so many tools available to assist in the sanding process. My go to is using a random orbital sander (shown in the picture above). Just as the name implies, it works in a random, circular motion to remove the wood fibers. Although it moves in a random orbit, still make sure to sand in the direction of the wood grain as you move up to the higher grits.
Since I do not have a fully equipped workshop, when I do glue-up panels, sometimes the wood is not always flat. So for these situations, I will use my belt sander to remove these inconsistencies.
For hard to reach areas, there are mouse/detail sanders. These are beneficial for getting into corners and certain joints. I usually use mine for sanding after I've put a project together or if I'm sanding live edge wood.
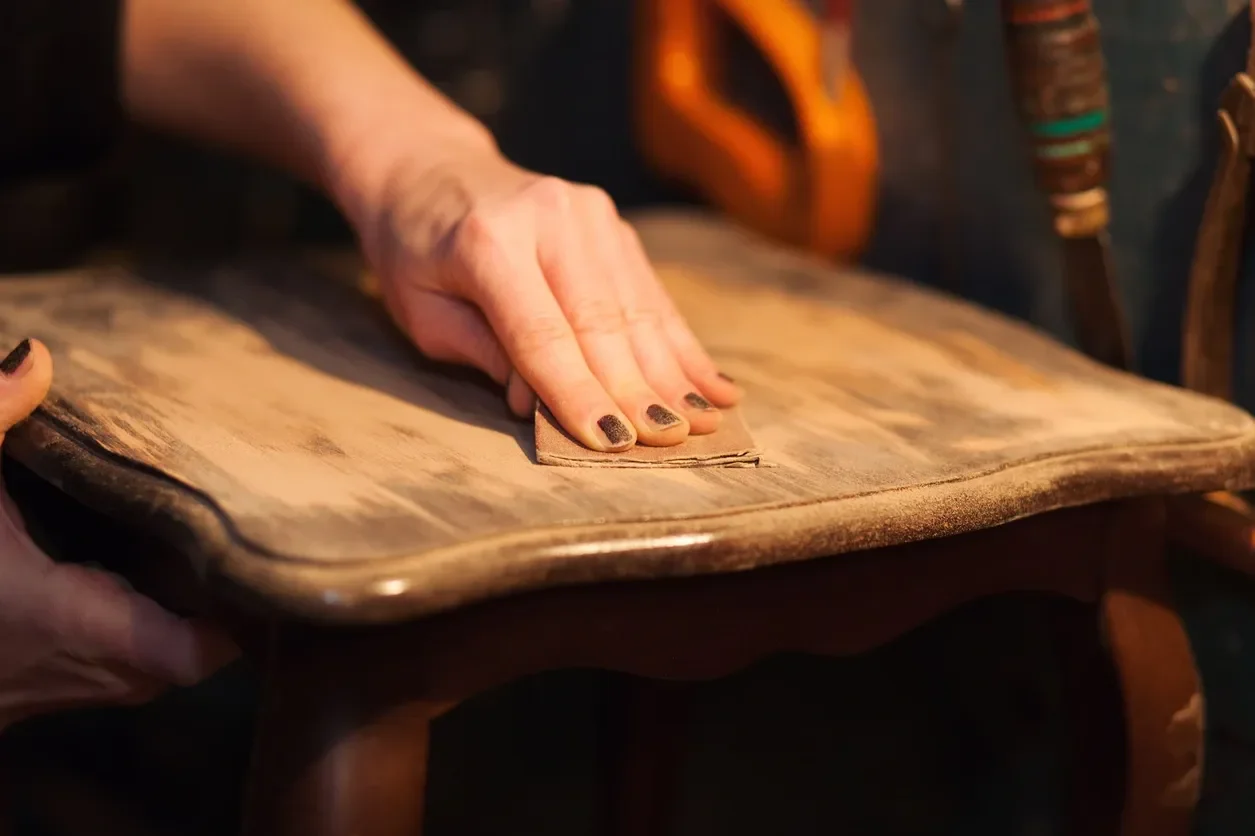
And last but not least, there's the good old process of hand sanding. Of course this will take time and quite a bit of elbow grease, but is beneficial for intricate details. For hand sanding, it is best to use a sanding block or pad to help stabilize the sand paper.
CONCLUSION
Sanding is one of the most important steps when building a project. Although it is time consuming, it makes all the difference in how your finished project looks. But at least there are several tools to help in the sanding process. Do your research and find the best process that works for you.
Enjoy your next project...and make it dynamite!